
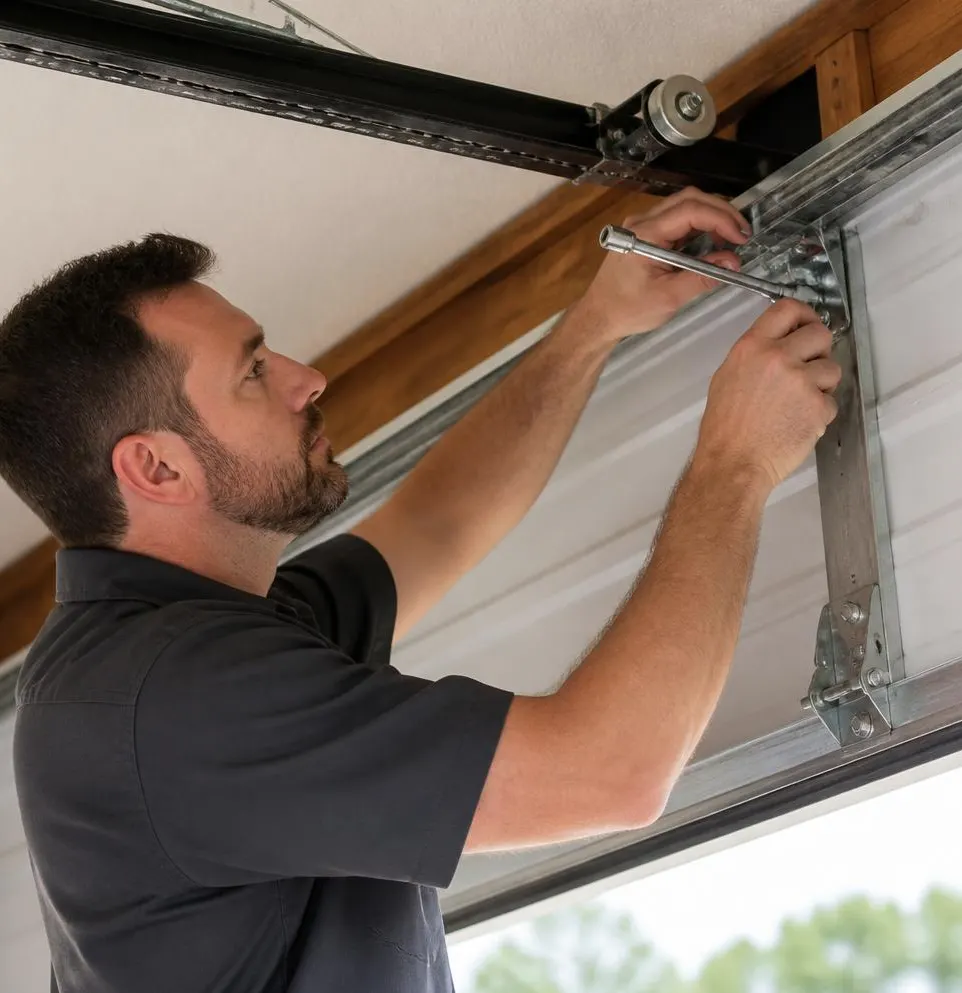
Spring Wear Rarely Happens Without Warning
As a rule of thumb, a garage door spring gives you weeks of small signals before it fails completely. The exceptions matter, though: salt air near the coast can hide corrosion inside the coils of an extension spring long before it shows on the surface, and any spring nearing the end of its cycle life can let go suddenly even if it looked fine the week before. Humidity and the extra lifting cycles that come with afternoon storms (doors opening and closing more often to dodge downpours) also speed up fatigue in ways that aren't always visible until the spring is already compromised. That's why a hands-on check beats guessing by sound alone.
Walk Through This Checklist in Your Own Garage
1. Watch the Door Open and Close
Stand to the side and watch the door's full travel. If one side lifts faster than the other, or the door tilts and looks crooked partway up, one torsion spring is likely weaker than its partner. Torsion springs work in pairs above the door, and they're supposed to wear evenly — uneven lifting means uneven wear, and the stronger spring will take on more load until it fails too.
2. Check the Coil Gaps on Torsion Springs
Look at the torsion spring (or springs) mounted on the shaft above the door. Healthy coils sit tight against each other with no visible gaps when the door is closed. Gaps between coils, or a spring that looks visibly stretched compared to its twin, mean it's losing tension and is closer to failure.
3. Look for Rust, Pitting, or Flaking
Run your eyes (not your fingers) along the length of any spring. Surface rust is common in humid, salt-exposed garages and isn't an automatic emergency, but pitting — small dark pockmarks where metal has actually eroded — weakens the wire itself. A pitted spring under tension is far more likely to snap suddenly than one with just a dusting of surface rust.
4. Do a Manual Balance Test
With the opener disconnected (pull the emergency release cord), lift the door by hand to about waist height and let go. A properly balanced door with healthy springs should stay roughly in place. If it drops on its own or shoots upward, the springs aren't carrying their share of the door's weight anymore — and this gets more noticeable on heavier, wind-rated doors, since hurricane-grade panels put extra demand on aging springs.
5. Listen for Bangs, Pops, or Grinding
A loud bang from the garage, especially one that happens when no one's touching the door, is often a spring letting go partially or fully. A grinding or scraping sound during operation can mean a spring is rubbing against a bent bracket or worn bearing plate, which accelerates wear on everything around it.
6. Inspect the Cables at the Bottom Brackets
Cables work directly with the springs to manage the door's weight. If you see fraying, visible slack, or a cable that's come loose from its bracket, don't assume it's unrelated — a failing spring often puts uneven strain on the cable system, and the two usually need attention together.
7. Feel the Weight When Lifting Manually
If the door feels noticeably heavier than it used to, or you find yourself needing real effort to lift it by hand, that's a straightforward sign the springs are no longer doing their job efficiently. This is easy to miss if you only ever use the opener, so it's worth testing manually every so often.
8. Check Extension Spring Stretch
For doors with extension springs running along the horizontal tracks, compare the spring's length when the door is closed versus fully open. A spring that's visibly overstretched, or one with coils that look permanently separated even at rest, has lost elasticity and is a near-term failure risk — especially with the extra humidity swelling wooden doors and changing how much force the opener needs to apply.
9. Count the Years (or the Cycles)
Most residential springs are rated for somewhere between 7 and 15 years or roughly 10,000 open-close cycles, depending on quality and usage. If you can't remember the last time yours were replaced, age alone is a reason to get them checked, particularly if storm season has meant more frequent opening and closing.
10. Notice If the Opener Is Working Harder
An opener motor that strains, slows down, or runs hotter than usual is often compensating for springs that can no longer carry their share of the load. This shortens the opener's lifespan too, so a spring problem left alone tends to become a two-part repair.
When to Call Tallevast Garage Door Experts
If two or more items on this list match what you're seeing, it's time to stop testing and get it looked at — a spring under tension is not a DIY repair. Tallevast Garage Door Experts handles Garage Door Spring Repair and Cable & Roller Replacement for homeowners across Tallevast and Manatee County, replacing both torsion and extension springs with hardware suited to our humidity and salt-air conditions so you're not back here again in a year.
Don't wait for the bang. Call Tallevast Garage Door Experts today for same-day spring inspection and repair in Tallevast, FL.